Room & frame layout tour
A shared video showing the room and frame layout before images are added.
Ideas for use
- Personal introduction panels
- Event cast introduction panels with links
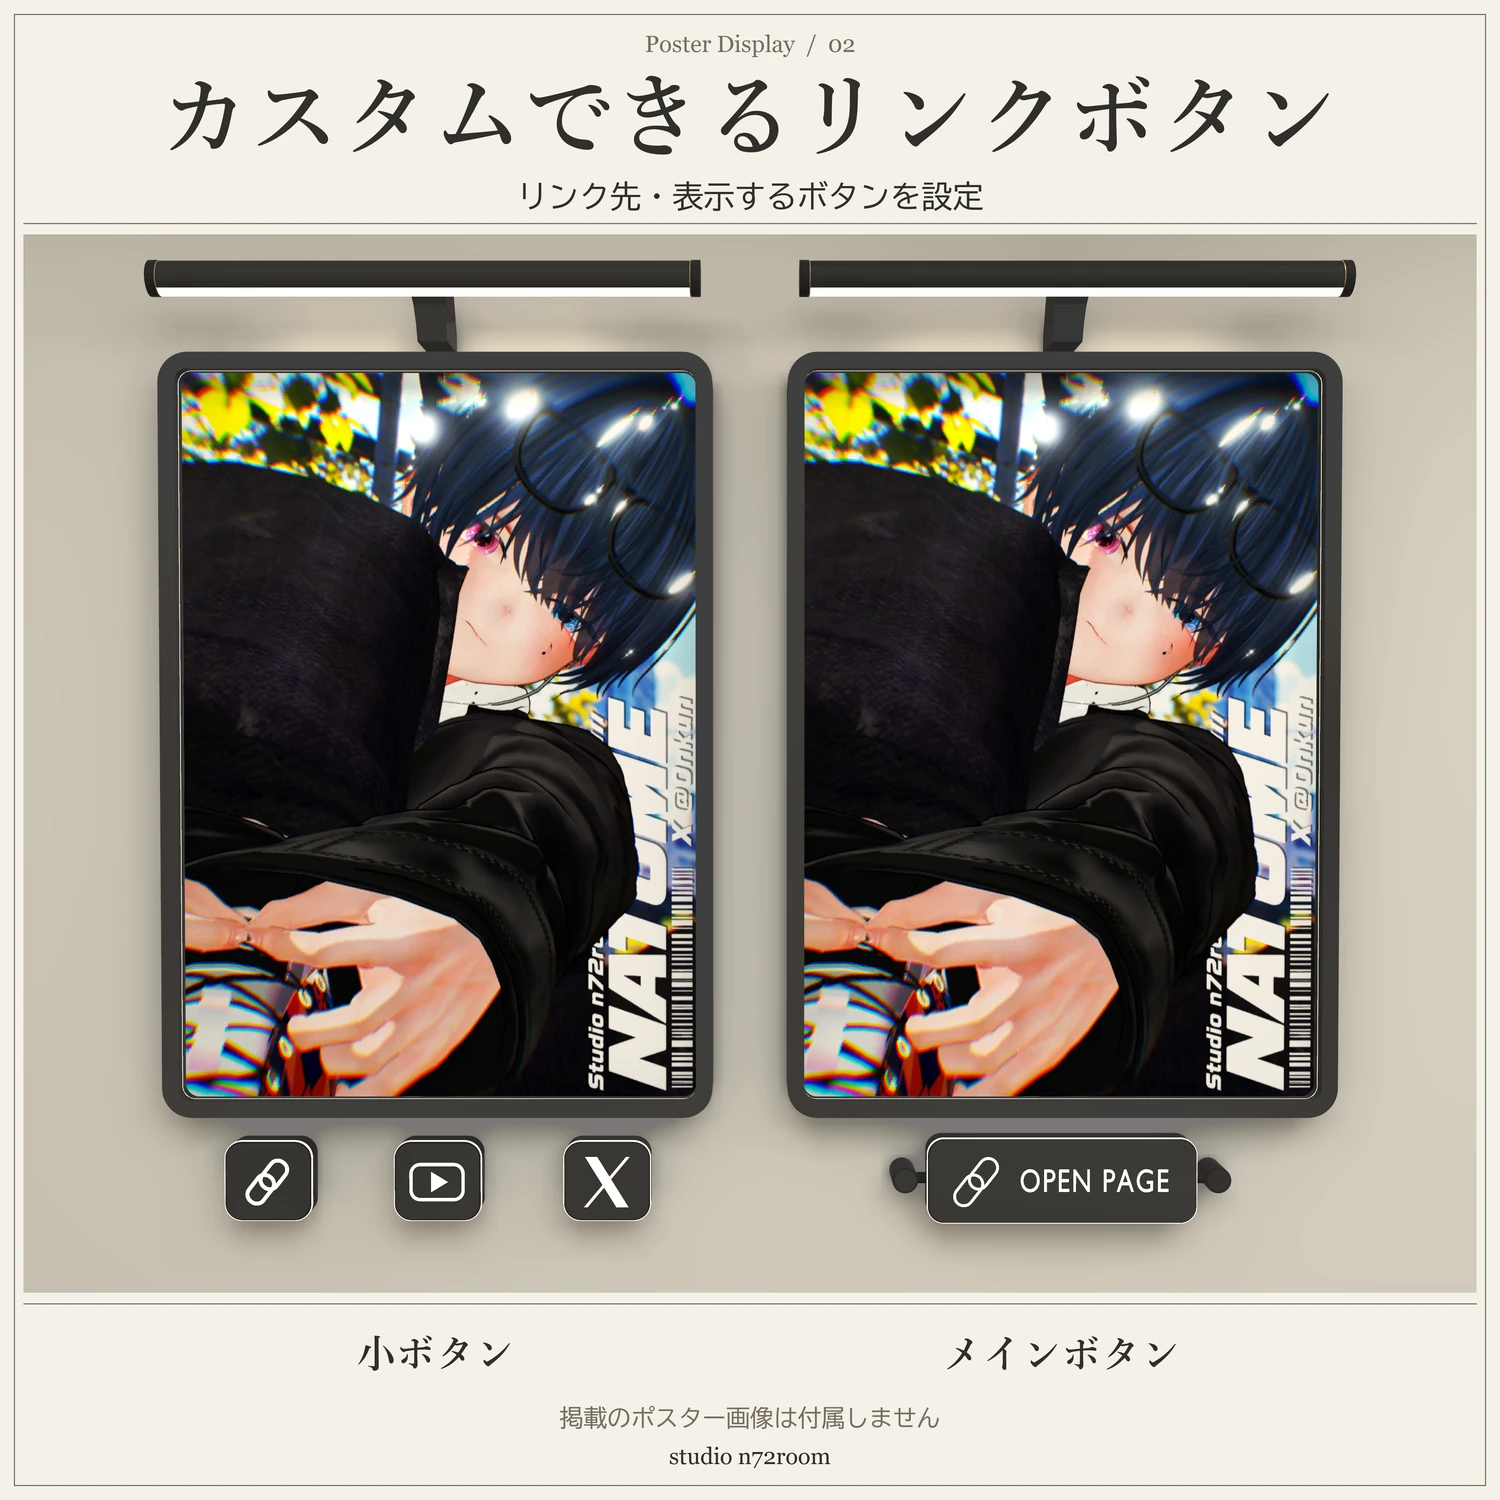
- Introduce up to three people in one frame when each person has one small button and one link
- Display and introduce artwork or products
Gallery Room includes the frames. You do not need to buy both products for the frames.
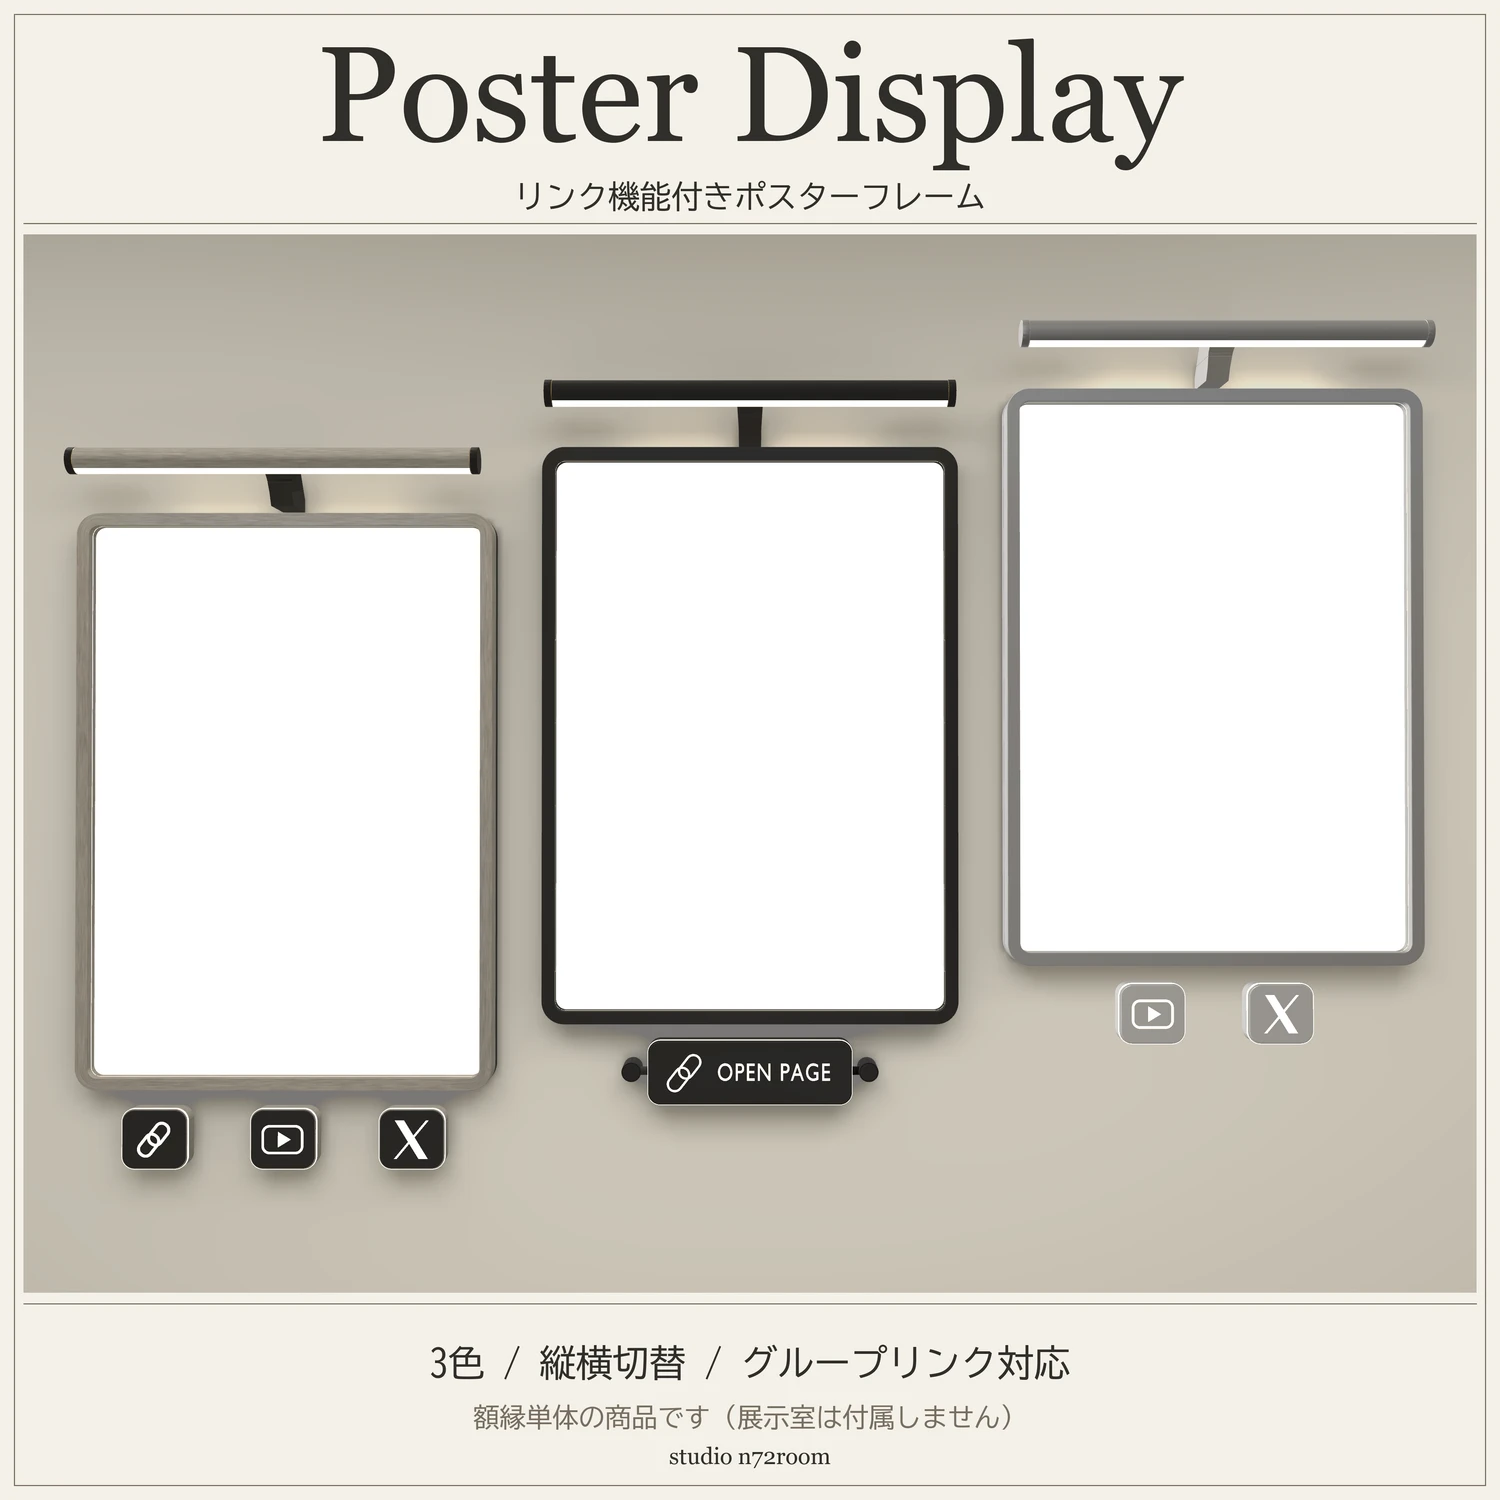
Configurable poster frames for VRChat worlds
Display your artwork or product images in your own VRChat world. Poster Display includes configured frame Prefabs in Wood, Black and Silver. It works independently of Gallery Room. The room and artwork shown in the examples are not included.
The blue image and example.com shown in the settings screenshots are examples. Replace them with your own image and destination. The all-zero group ID is a placeholder and cannot be used as a real destination.
Tested environment
Unity 2022.3.22f1 / VRChat SDK - Worlds 3.10.5 / lilToon 2.3.4.
Import and place a frame
- Create or open a Worlds project using VRChat Creator Companion.
- Install lilToon, then import the product's unitypackage.
- Open
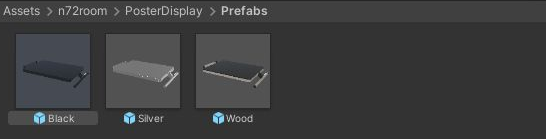
Assets/n72room/PosterDisplay/Prefabs. - Drag
Wood.prefab,Black.prefaborSilver.prefabinto the Hierarchy. - Position the frame using its root Transform and select the placed instance to configure it.
Back up an existing project before importing. If TextMeshPro resources are missing, use Window → TextMeshPro → Import TMP Essential Resources.
Baked lighting
When using lilToon with lightmaps in your world, select a lilToon material and enable Shader Setting → Build size optimization (for all materials) → Use lightmap. This setting is shared by lilToon materials in the project.
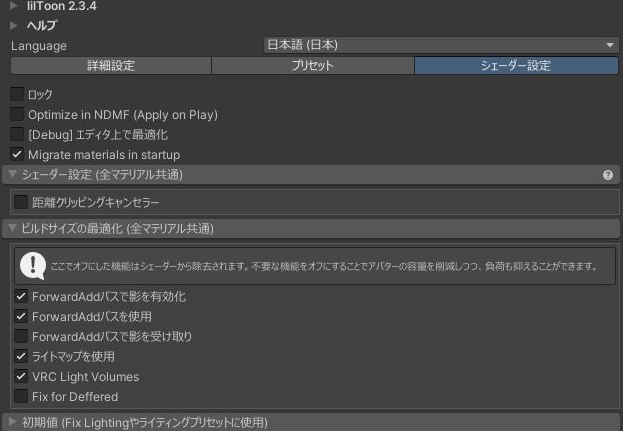
lilToon shader settings (Japanese)
Image and orientation
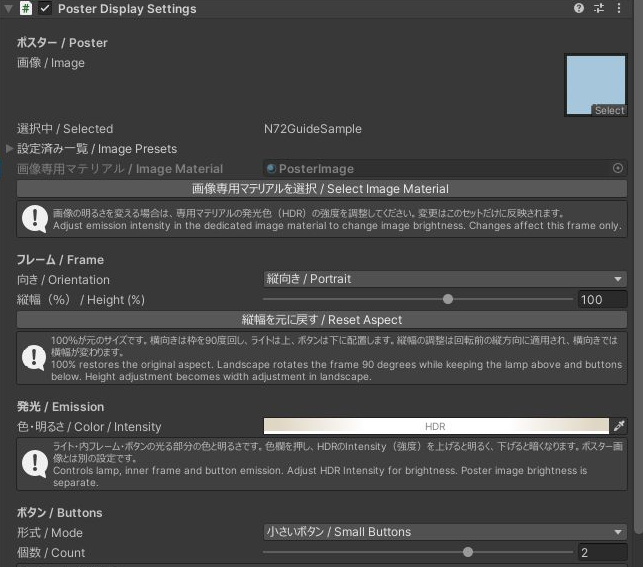
Select the placed frame in the Hierarchy. The main Inspector labels include Japanese and English.
- Import your image into the Project.
- Assign it to Image in the frame Inspector. Change this field to replace the image later.
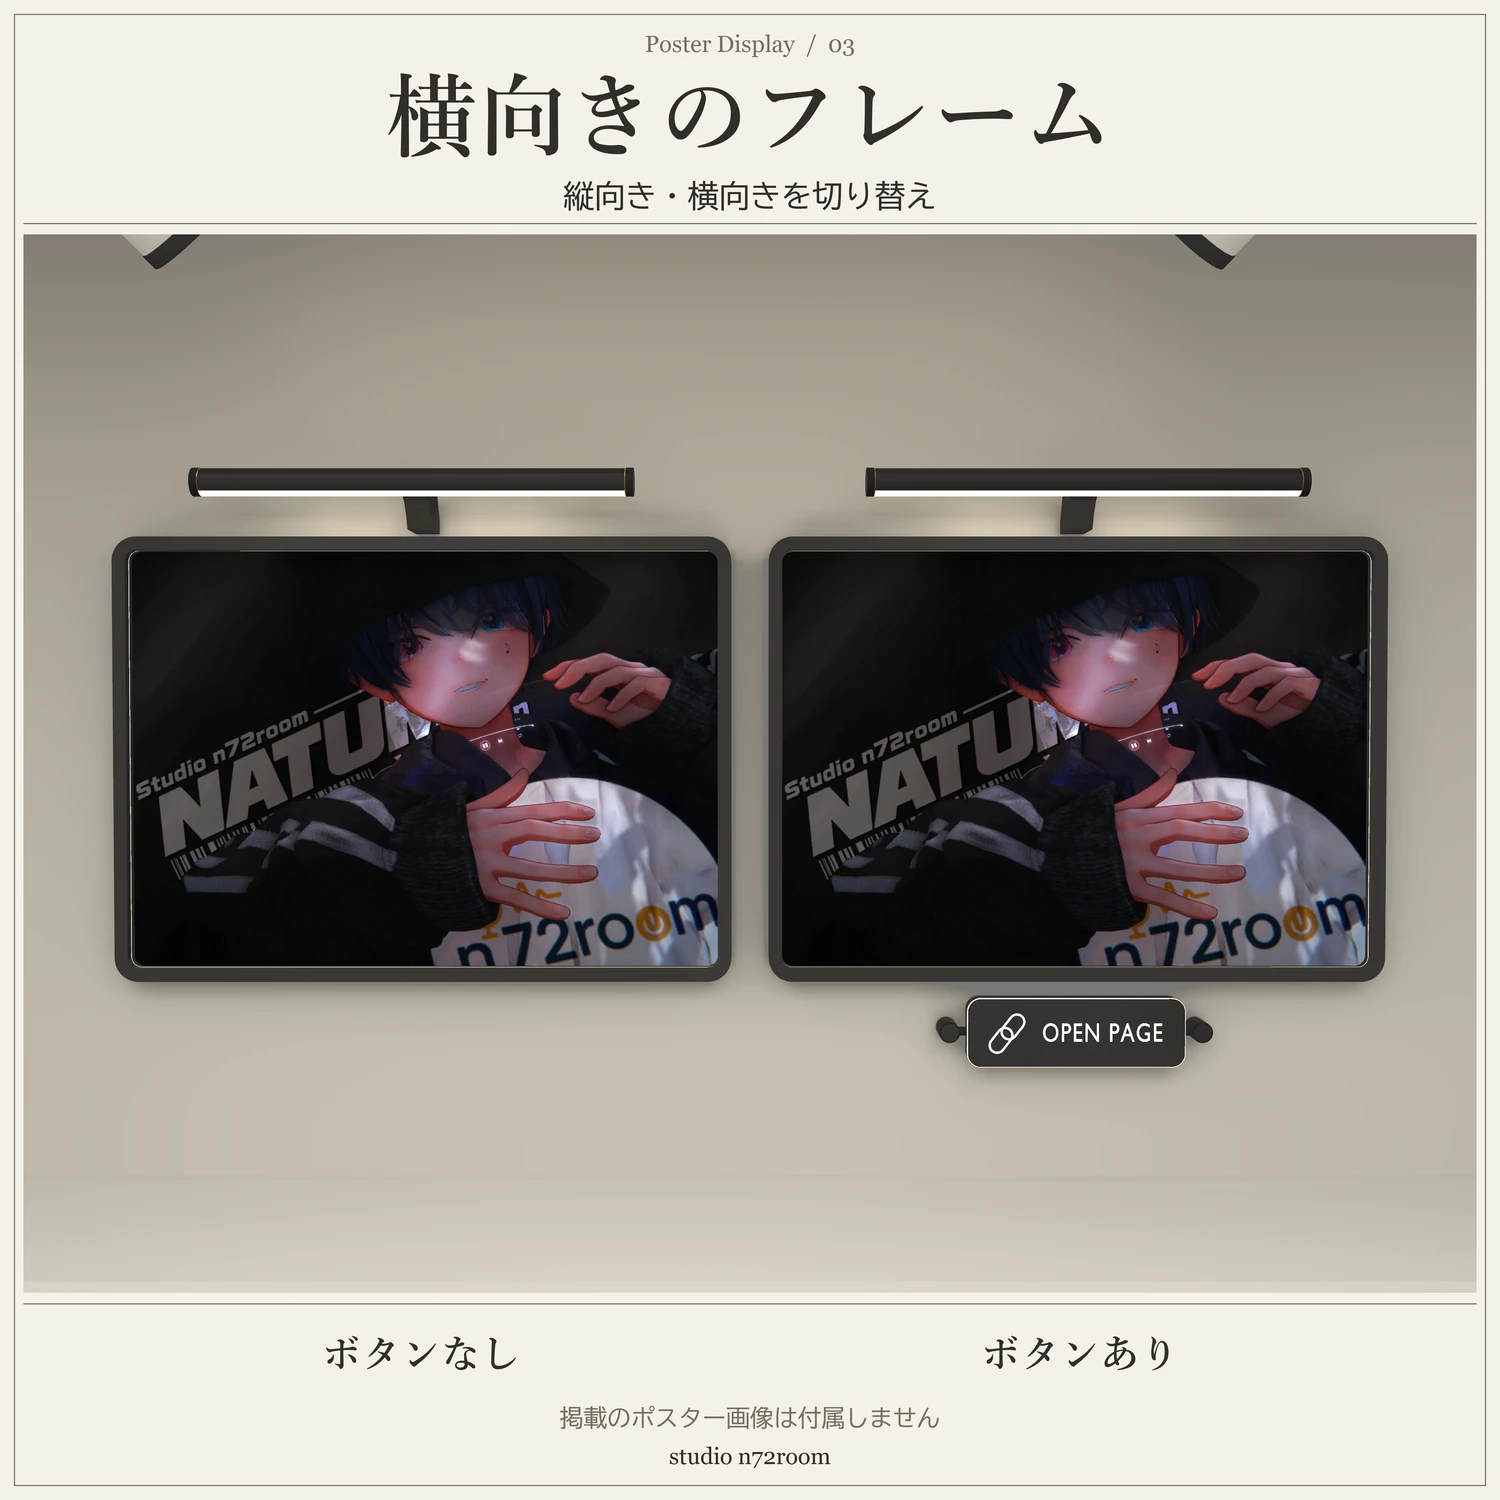
- Choose Portrait or Landscape under Orientation.
- Adjust Height (%) to change the aspect ratio. Use Reset Aspect to restore 100%.
In landscape mode, the frame rotates 90 degrees while the lamp stays above and the buttons stay below. Height adjustment affects width in this mode. Images are assigned as Unity textures; image URLs are not loaded automatically.
Buttons and links
Choose Main Button, Small Buttons or No Buttons under Mode. Small-button mode supports up to three buttons with Link, X or YouTube icons. Configure each link separately.
Regular links display a URL that can be copied. They do not automatically open an external browser or display website content inside the frame. For a VRChat group link, enable Open Group and enter the group ID or group page URL. The button opens the group page inside VRChat; joining is a separate action.
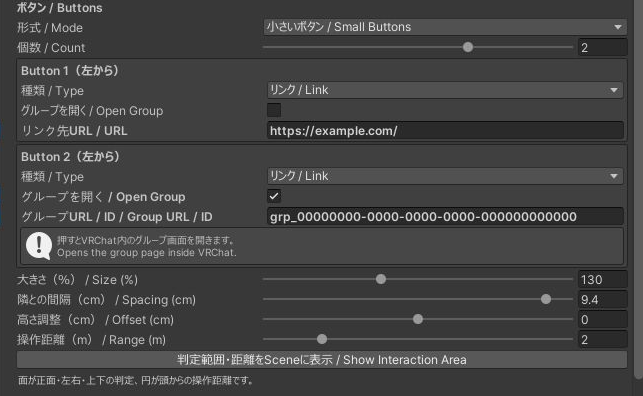
Advanced settings include button size, spacing, vertical offset, interaction range and local click sounds.
Color and brightness
Use the Wood, Black or Silver Prefab for the outer frame color. The frame's Color / Intensity setting controls emission on the lamp, inner frame and buttons.
If the poster image looks washed out or too bright:
- Select the frame and click Select Image Material. This appears after assigning an image.
- In the material's emission settings, disable emission or reduce the HDR intensity.
- Check the result in the Scene and in VRChat.
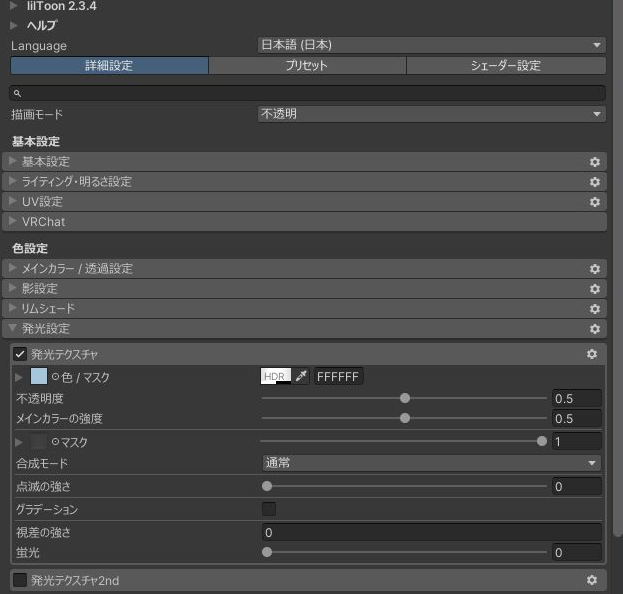
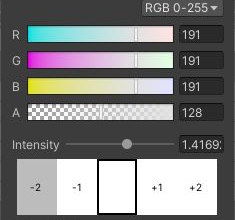
Image brightness is separate from the frame's lamp and button emission. Open Detailed Settings → Emission on the selected image material. Disable Emission (「発光テクスチャ」 in the Japanese UI), or click its HDR color and lower Intensity.
Replacing the frame color
Place the desired color Prefab as a new instance, then configure its position, image and links. Check the new frame before deleting the old one. Settings belong to each instance and are not automatically copied between color Prefabs.
Troubleshooting
・Pink materials: Check that lilToon is installed and review Console errors. ・Missing text: Check TextMeshPro resources and Console errors. ・Inactive links: Check the URL or group ID, interaction range and an active EventSystem. Avoid duplicate active EventSystems.
Save the scene and test image appearance, URL copying and group links with the VRChat SDK before uploading. Back up the project before applying updates.
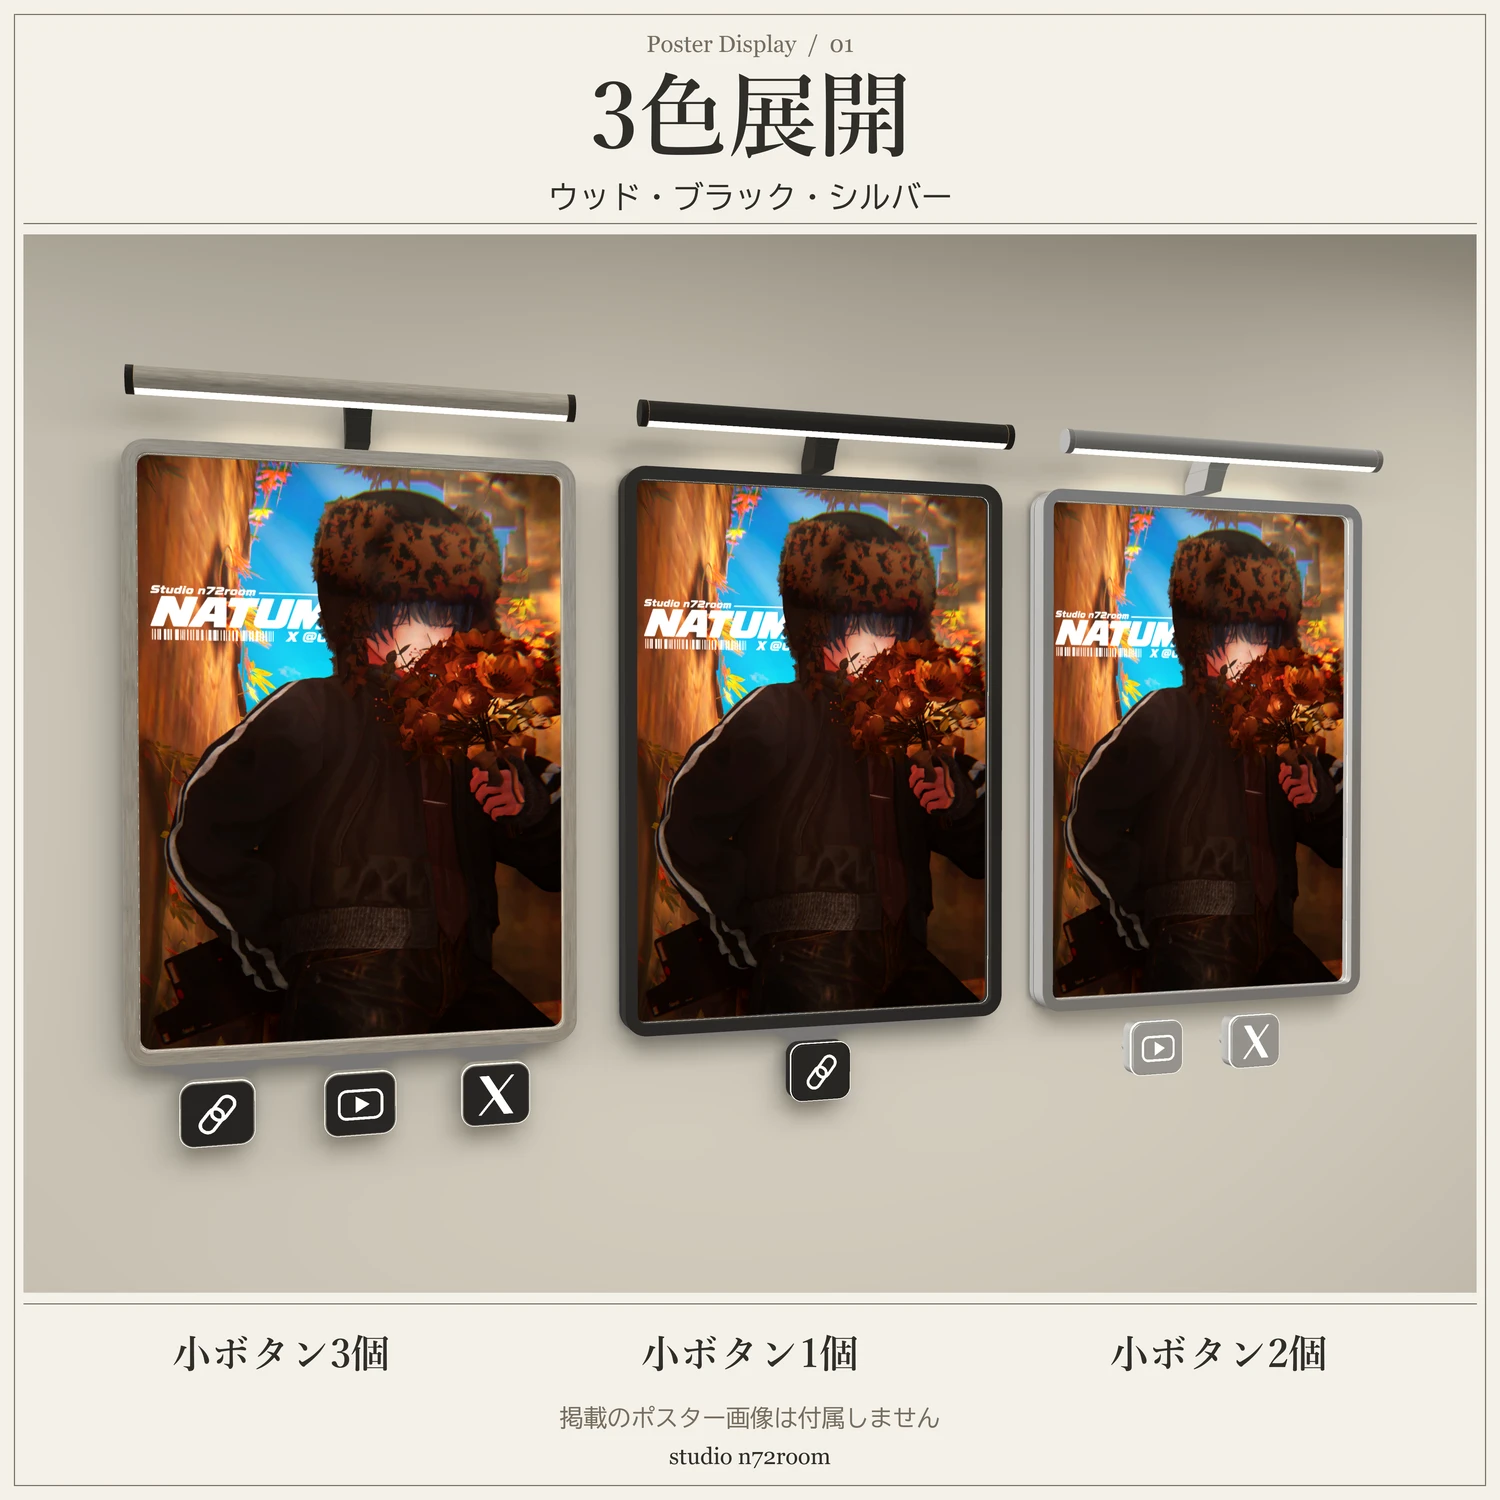
Product images show examples. The artwork and product images shown are not included.
Product images show examples. The artwork and product images shown are not included.
Product images show examples. The artwork and product images shown are not included.